I am super excited to share this gyro bread recipe; it is an incredibly easy Greek pita bread made with just 4 ingredients in just 3 steps: prepare the dough, shape it and cook it in a pan on the stovetop! I like to serve it with Sriracha Carrot Hummus or make it a Gyro wrap.
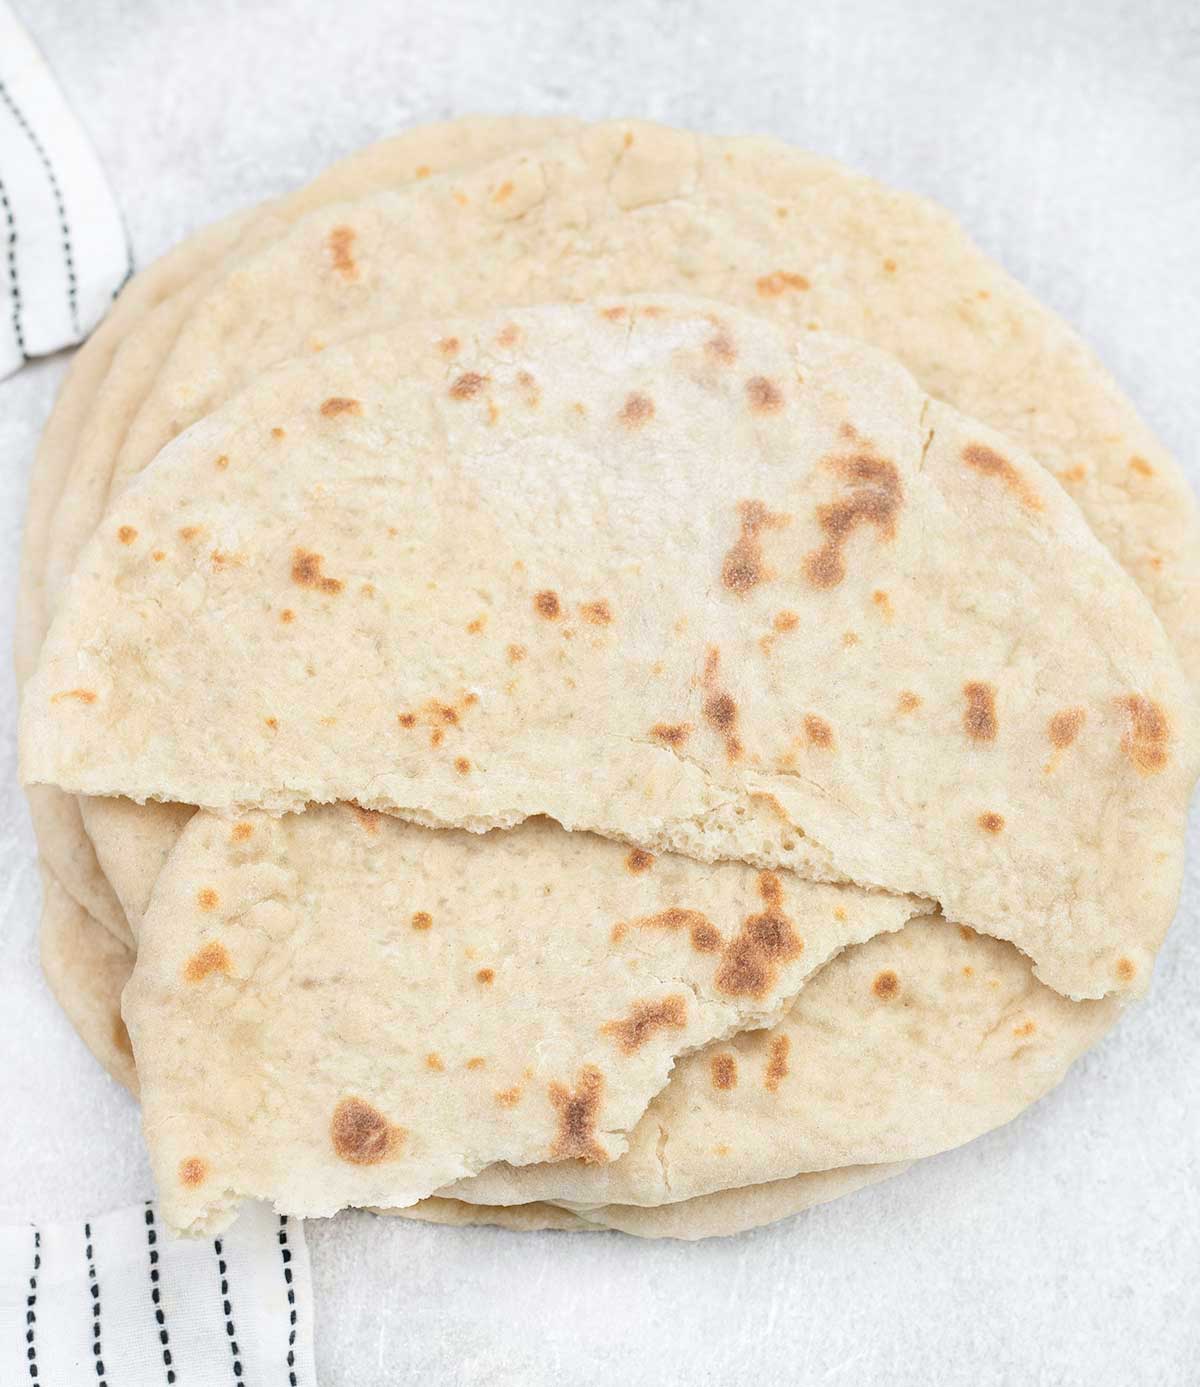
Gyro Bread (Greek Pita Bread)
I tested this flatbread recipe with 3 kinds of flour: strong white flour, all-purpose flour and whole wheat flour, and I liked the texture of the strong white flour better.
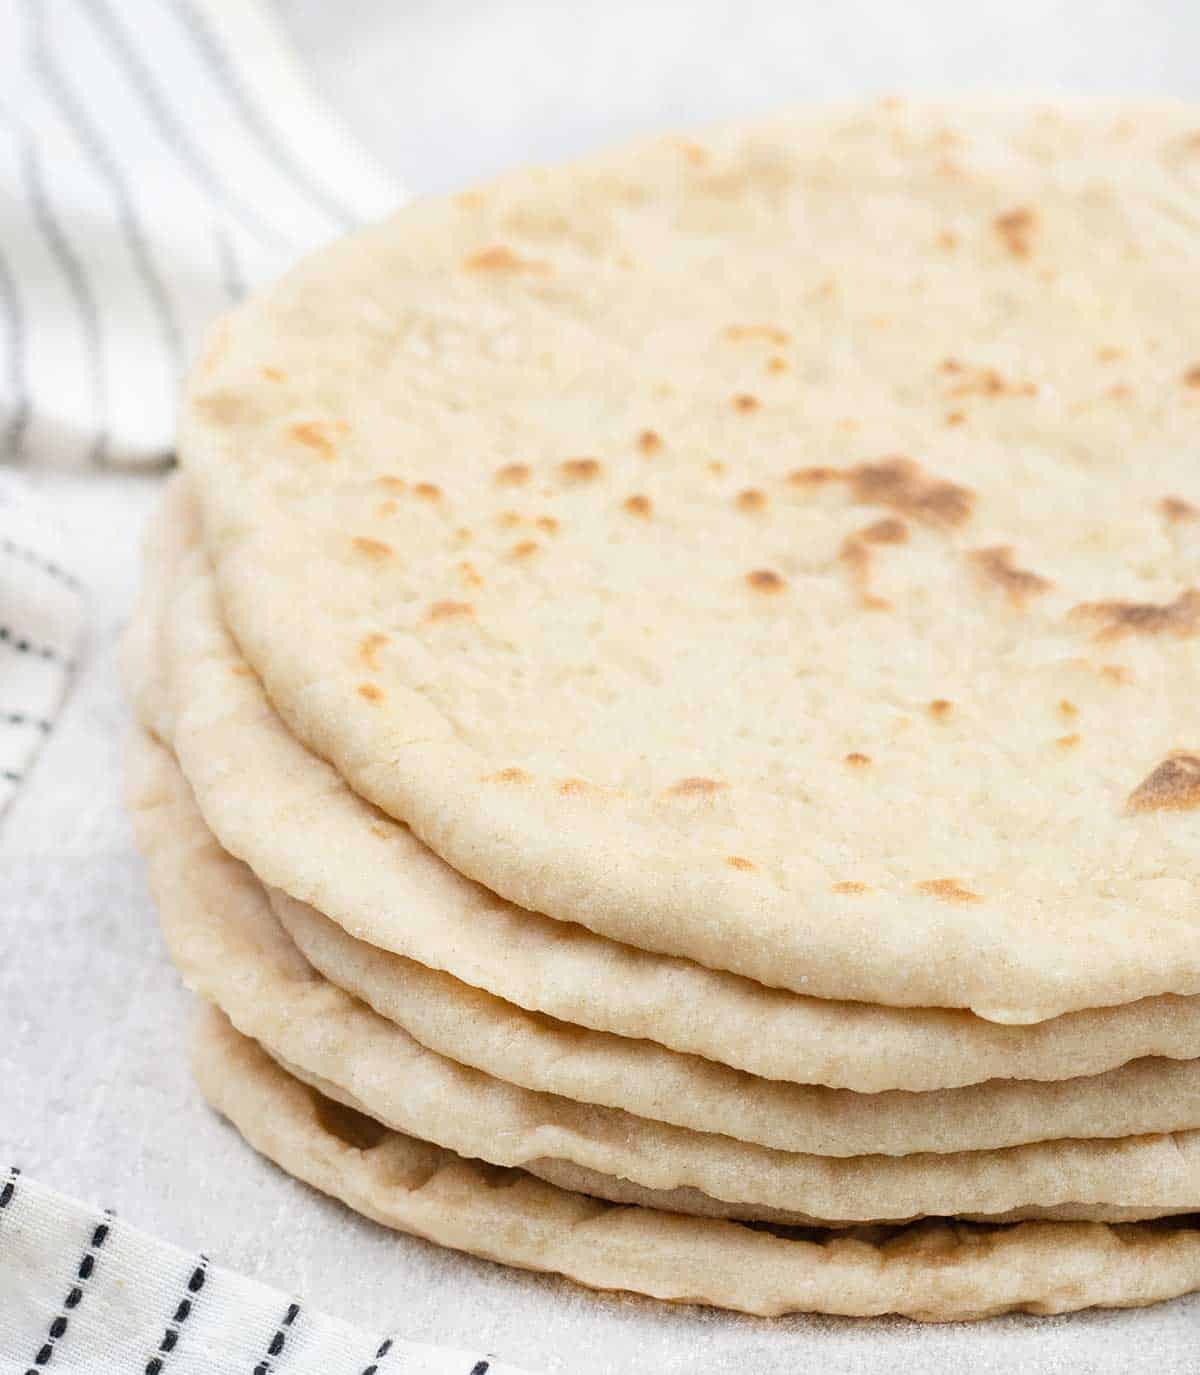
I also cooked it on the stovetop and in the oven; both results were good, but the stovetop version was easier and quicker, resulting in beautiful golden-brown bumbles and char marks.
Seriously, this hot soft, chewy flatbread bread right of the frying pan tastes great. Once you experience the fresh aroma of the baked good as it fills your kitchen and house, you’ll never give in to buying store-bought pita bread ever again.
So, let’s get down to business. It’s easier than you think it is.

What’s in this Gyro Bread?
Note: This is an overview of the ingredients. See the recipe card for full information on ingredients and quantities.
- Flour: I used strong white flour for soft bread. Also, whole wheat flour works fine.
- Instant dry yeast: To make the bread rise.
- Salt: To taste
- Sugar: I use just 1 teaspoon.
How to Make Gyro Bread?

Before we dive into making the bread, we will prepare the yeast to use in our bread.
One - Prepare The Yeast: In a small bowl, mix yeast, sugar, and water. Cover this bowl and leave it in a warm place for 5-10 minutes. You can run some other errands around the house and return to the kitchen.
Two - Prepare The Dough: Now, take out a large bowl. Add flour, salt, and then the mixture of water and yeast we had just prepared.

Three: Knead everything together for 6-8 minutes. You can use a stand mixer to do this step or just use your hands.
Four: Once all ingredients are well kneaded and stuck together, forming a giant ball, brush the dough with some oil, place it in the bowl, and cover it with plastic wrap.
Five: Let this big ball of dough sit for 30 minutes or until you it doubles its size.

Six - Divide The Dough: Now, take the dough out of the bowl and split it into 6 evenly sized balls.
Seven: Cover these balls and let them rest for 10-15 minutes. We’ll be rolling these smaller balls in a while.
Eight - Shape The Dough: Use a rolling pin to roll out the dough balls to form a round shape of pitta bread. If you’d like, you could even stretch it using your hands.
Tip: When you roll out the dough balls, stop when they are about a quarter inch thick, and the circle is about 8-9 inches wide.

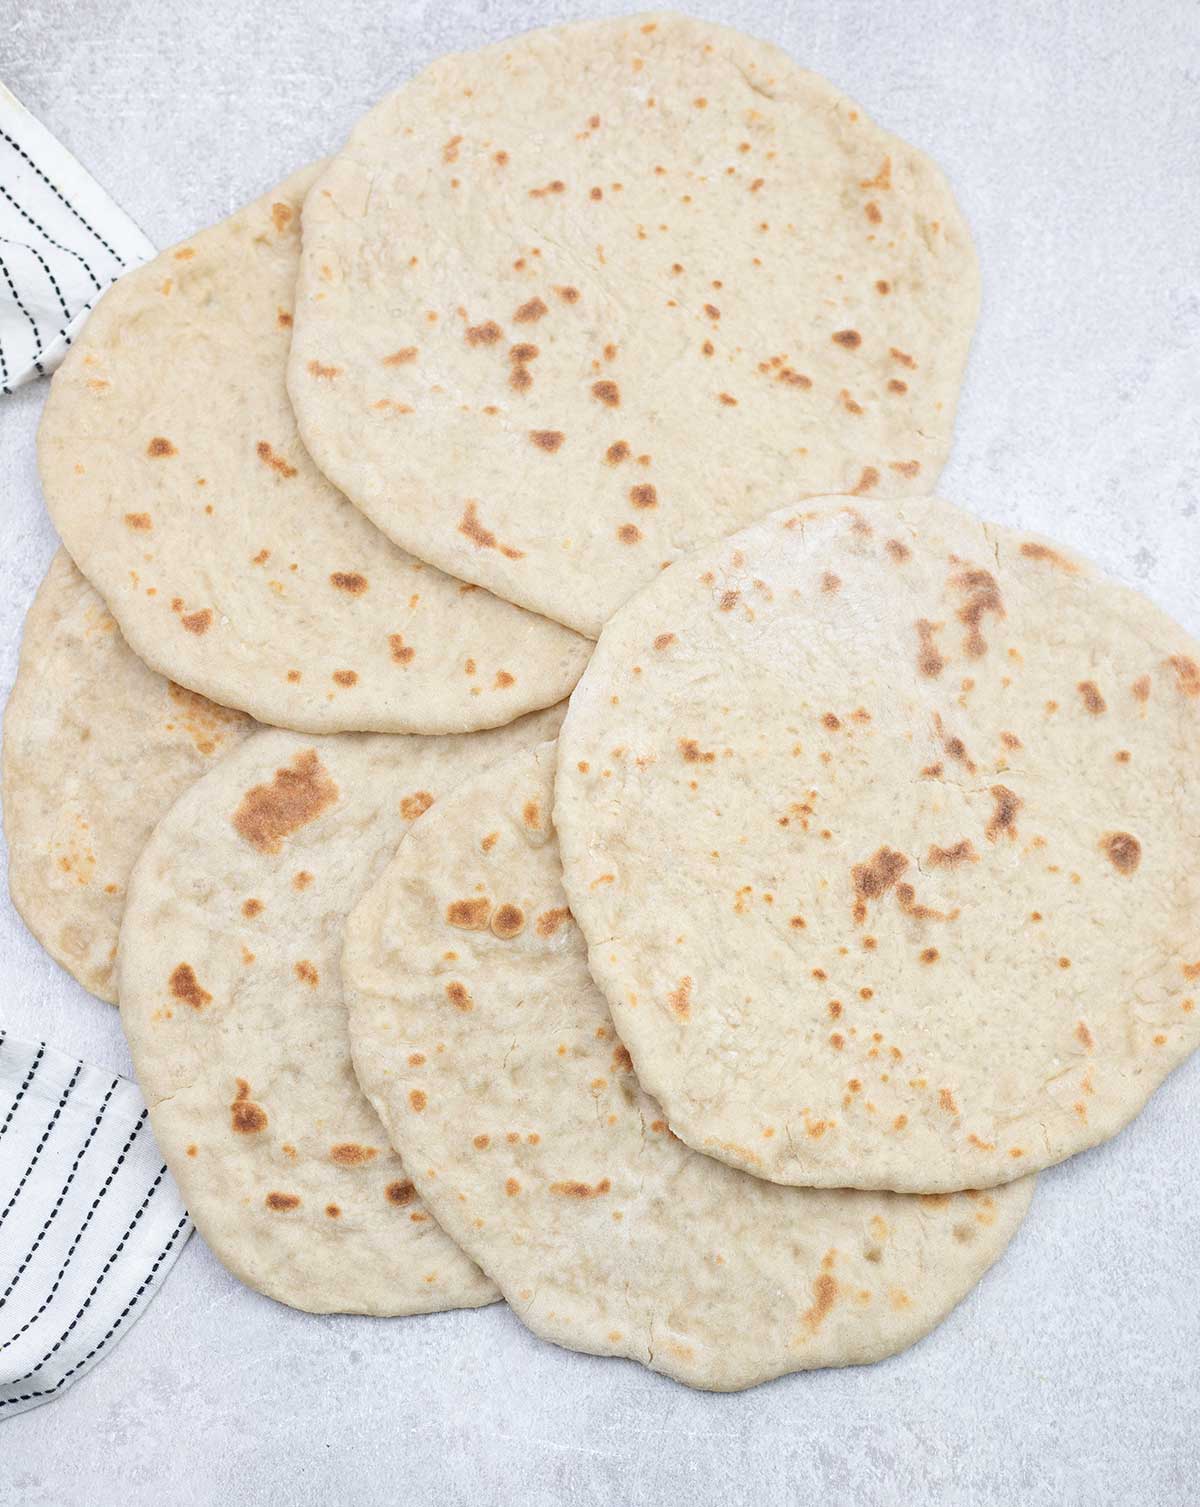
Nine - Cook The Dough: Heat a non-sticking frying pan to medium heat, brush it with a little oil, and wipe off any excess. Cook each piece of Gyro Bread for about 3-4 minutes on each side until it is lightly colored.
Thanks to the yeast, these Gyro Bread will rise and might also have little bubbles form. Once you take them off the pan, they’re ready to be served with your favorite food.
Cook It In The Oven
Alternatively, you could even cook this recipe in the oven. All you need to do is heat the oven to 240C / 460F and place a baking pan or large iron skillet on the middle rack and allow it to heat up.
Now, place the rolled-out Gyro pieces of bread on the skillet. You will have to work in batches, as only one or two may fit. Bake for 2 minutes on each side or until they beautifully rise.
Top Tips
- When you’re rolling the dough, it helps to constantly be lifting and flipping the dough over. This prevents it from sticking to the counter.
- Even after lifting and flipping, if the dough sticks to the counter, it’ll help to use some dusting flour.
Serve Greek Pita Bread With
I can’t even begin to share with you all the fantastic food items that go incredibly well with Gyro bread. I like to serve them with Butter Bean Hummus, Lebanese Falafel or Indian Chicken Curry.
You could also stuff these with Homemade Cream Cheese or Homemade Ricotta Cheese and some tomatoes and enjoy delicious wraps.
The sky is the limit with this bread. Let me know how you like to serve yours in the comments below.
Storage
Make ahead of time: I prepare 3 batches of dough, divide them and plop in the fridge, I roll out and cook the bread whenever you’d like to serve them.
Store: I keep the bread stored in an air-tight container at room temperature, for 3-4 days or in the refrigerator for 5-6 days.
Freeze: Once the bread is completely cooled, you can wrap it in parchment paper and put it in a ziplock bag to freeze for up to 3 months.
To reheat: Take the bread out of the freezer whenever you’d like to have it, and defrost it at room temperature. Next, you can use a toaster or oven to reheat it.

Can I Make Gyro Bread Gluten-Free?
I personally haven’t tried this, but you should be able to substitute the strong white flour for some gluten-free flour and take away some neat bread.
There will definitely be differences in how chewy the bread turns out (given that it doesn’t have gluten), but still, let me know how it turns out in the comments. I love to hear from you.
More Greek Recipes
- Moussaka (Musaka) Greek Recipe
- Ekmek Kataifi - Greek Dessert Recipe
- Kataifi Rolls - Greek Dessert
- Galaktoboureko - Greek Custard Pie
I hope you like today's recipe! Don't forget to subscribe to the newsletter to recipe all the latest recipes once published! You can also follow Healthy Life Trainer on Facebook and Pinterest.
Gyro Bread - Greek Pita Bread
Equipment
- Mixing bowl
- Measuring spoons
- Kitchen scales
- Frying pan
Ingredients
- 500 g white bread flour
- 390 g lukewarm
- 3 teaspoon instant dry yeast
- 1 teaspoon salt
- 1 teaspoon sugar
Instructions
- In a small bowl, mix yeast, sugar and water, cover the bowl and leave it in a warm place for 5-10 minutes.
- In a large bowl, add flour and salt, then pour the water mixture over, knead for 6-8 minutes either in the stand mixer or by hand.
- You should have a bit of sticky dough; brush the dough with some oil and place it in the bowl and cover it with plastic wrap; let it sit for 30 minutes or until it doubles its size.
- Now, take the dough out of the bowl and split into 6 evenly sized balls.
- Cover the balls and let them rest for 10-15 minutes.
- Use a rolling pin to roll out the dough to form a round shape of pitta bread (or you can stretch it with your hands) to about a quarter inch thick, and the circle is about 8-9 inches wide.
- Heat a non-sticking frying pan to medium heat and brush it with a little bit of oil and wipe off any excess. Cook each pita bread for about 3-4 minutes on each side, until slightly coloured.


Enable says
Looks delicious, I can’t wait to make this recipe.
Eman says
This recipe is a keeper! Thanks.